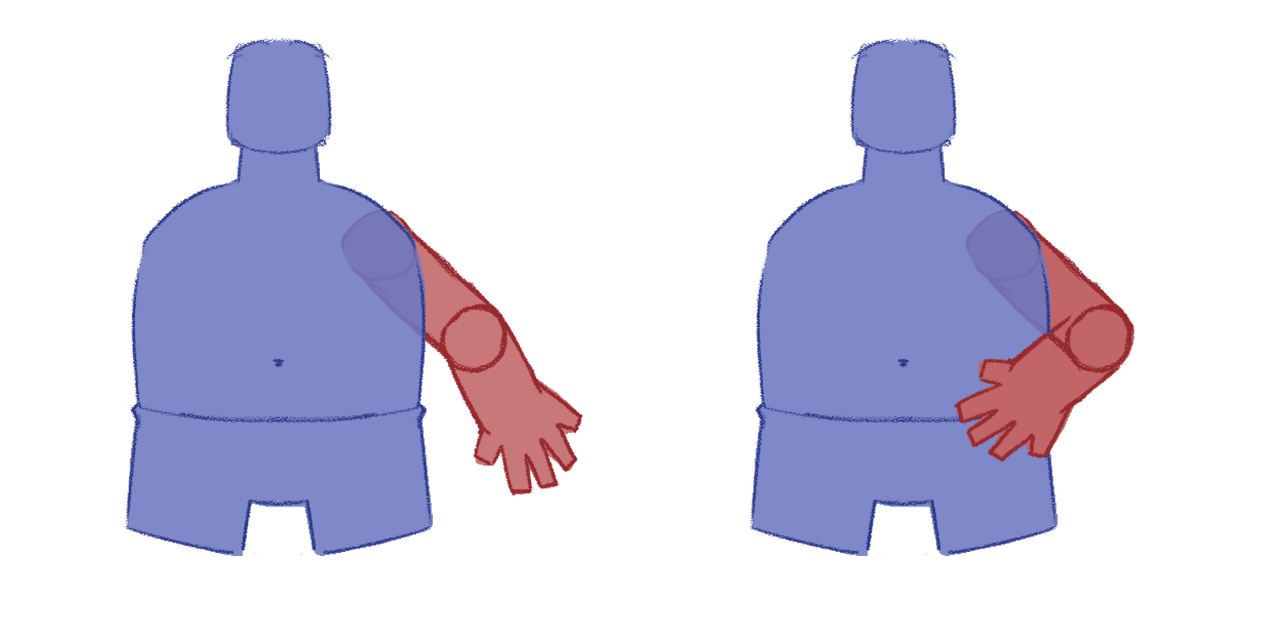
There are many ways to do this. For your example, I'd draw the arm as a single item divided into two shapes that appear as a single seamless shape...

This is done by hiding the 'border' line segment at the elbow using the Hide Edge tool. Here's an image showing the elbow edge hidden. (Fills in Display Preview have been disabled to make the setup more obvious)...

Then, I duplicate the layer and knock out the shape in the upper section for one layer and the lower section in the other layer. I also add a single point to the 'border' line in one layer and drag it across the border. This helps hide the seam that can appear in an anti-aliased final render.

(In the above example, the edge-overlap is in the upper arm layer. Typically, it doesn't matter which layer has this overlap, but it could matter for some character designs. Use your judgment.)
Next, I create reference layers for both layers and move them behind the torso, so we have one complete arm set in front and one behind. This allows me to hide and reveal the sections of the arm to create the appearance of the arm 'wrapping' around the body. (Actually, I created duplicate layers in this example, not reference layers, but reference layers typically make sense when editing the original. I often break the arm references for my final 'master' rig, though, to avoid possible issues when the character rig is referenced in a scene project.)
Finally, a Smart Bone Dial is created to control the visibility of the layers.
Here's the above setup animated...

Another way is to animate the layer order inside an action. This approach is simpler and more direct, but it can also invite conflict when you need to do something differently from what the Smart Bone Action is programmed to do. For this, I prefer the visibility technique. With the animated visibility setup, I can still use Animated Layer Order
additionally when it's needed. It's rare, but it comes up from time to time.
A good example is the Centipedior and Ladybug Lad characters I animated, as seen on
my 2020 demo reel. The multiple sets of arms could have complicated this setup, but I kept it fairly simple by combining animated Visibility and Layer Order setups. It's good to maintain flexibility for surprise situations.
I've also used masking to control the visibility of layers. In this example, I used an animated Stroke Exposure as a mask to show and hide the arm sections...
In the Puss example, I used Smooth Joint for the elbow, then inserted a single curve running up the arm's length. A stroke slightly wider than the arm's width runs up and down the curve and serves as a mask.
The Stroke Exposure method seemed like a great idea back then, but it's actually overkill for most character rigs. I think it's a fun technique, but really more for show.
The visibility switch method is what I use most of the time. I used it throughout the run of
Boss Baby: Back In Business and other TV shows. It's easy to set up, looks seamless, and it works perfectly every time.
Hope this helps.